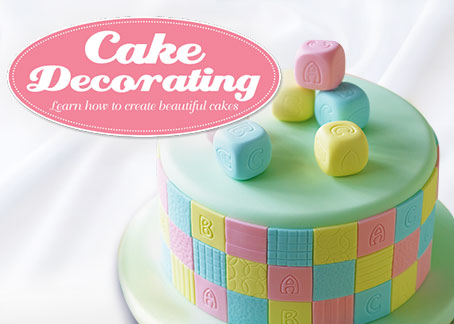
You can create this deliciously dotty design in six easy-to-follow steps and you’ll learn three essential piping skills in the process. Creatively iced cookies are more popular than ever before, and they look beautiful too.
Sugar cookies and pastel iced butterflyies make a tempting teatime combination. To create these dotty delights, you need three piping skills: outlining, flooding and dotting.
You Will Need:
- 12 sugar cookies
- 3 food colours: green, purple, blue
- 450g royal icing sugar
- Water Equipment:
- Mixing bowl and metal spoon
- Cocktail sticks
- 6 disposable piping bags
- Scissors
- Small round hole icing nozzle
Key Skills:
 Outlining: Piping an outline around your cookies prevents the icing from dribbling over the edges and gives the most professional finish. Outlining can also be used on cakes, and for creating your own unique or bespoke icing decorations and shapes, called ‘run-outs’.
Use it for: giving a border to cookies, cake decorations and run-out shapes.
 Flooding: This technique is used to fill or ‘flood’ inside an outline with icing. It can be used on cookies, cakes or inside run-out shapes. The icing consistency for flooding is quite runny and gives a smooth finish.
Use it for: Filling inside the outlines of cookies, cakes and run-outs.
 Dotting: This handy technique, done over hardened icing, is great for practising your control when working with a piping bag and an icing nozzle – the more you squeeze the bag, the larger the dot. To remove unwanted peaks from dots, pat down with a damp brush.
Use it for: Practicing with a piping bag and creating simple decorations.
- Sift 150g of royal icing sugar into a bowl and add a little water. Use a cocktail stick to add a tiny dab of blue colouring and build up colour gradually. Mix well with a metal spoon. Your icing should be soft peak – soft enough to pipe but not runny.
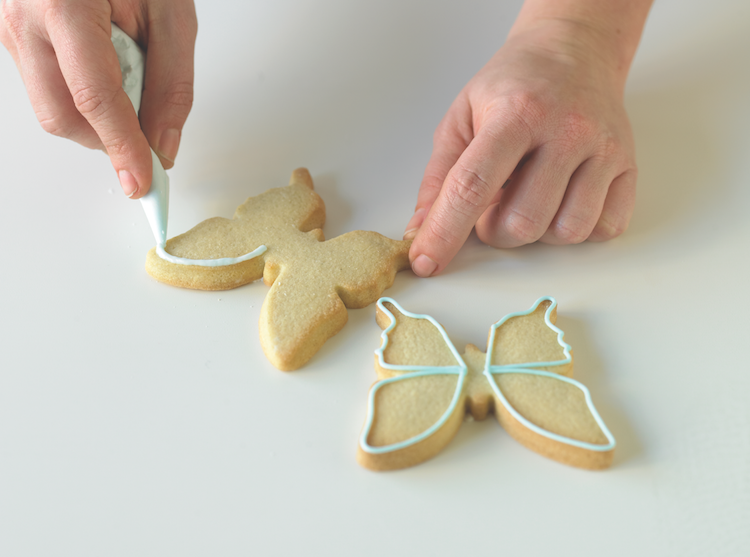
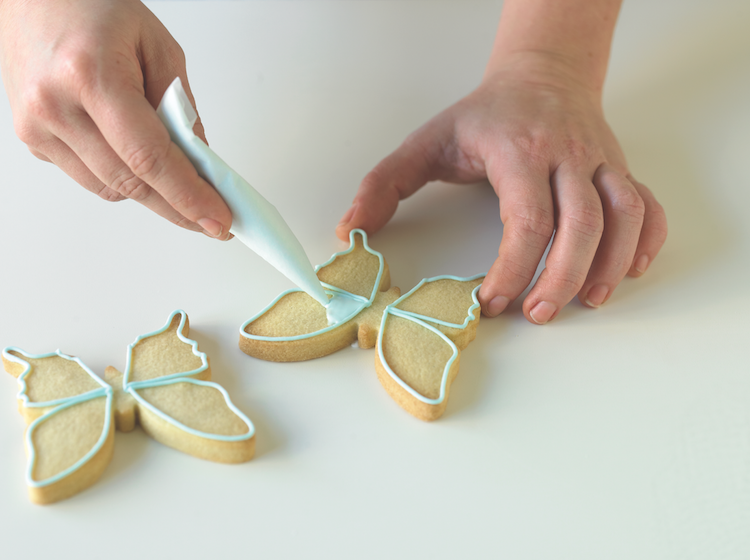
- Place your icing nozzle inside a piping bag or snip a small hole in the end of the bag. Spoon three teaspoons of blue icing into the bag. Holding the bag close to the tip, use gentle, even pressure to pipe an outline around the inside edge of each cookie. Let your index finger guide the bag and use your other hand to help you if you need it. If you make a mistake, wipe clean and start again.
- Thin down the remaining icing with a little water to make it runny enough to flood inside each outline.
- Half fill a clean piping bag and snip a hole in the end – you don’t need a nozzle for this step. Flood inside the outlines, starting at the edges and working towards the centre for a nice, even finish. Allow to dry for four hours
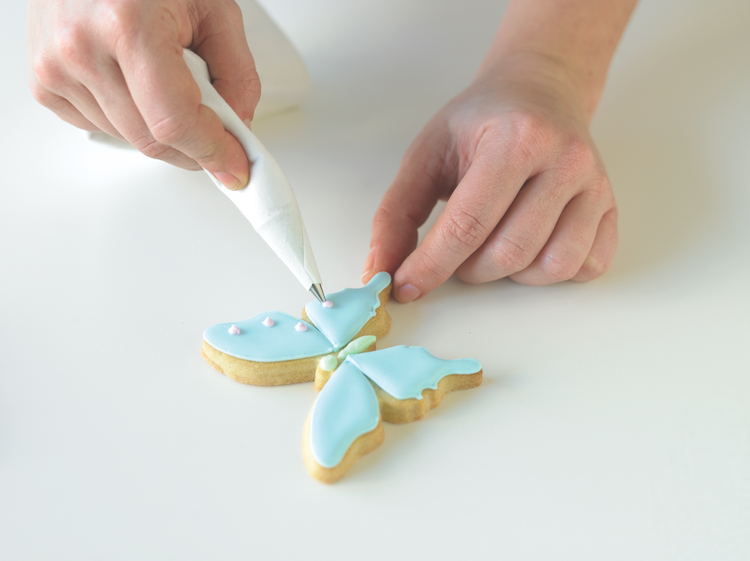
- Make up your other two icing colours as described in step 1. Spoon some soft peak green icing into a piping bag and snip off the tip. Squeeze a large dot for the head and a second dot for the body, dragging the tip of the piping bag through the icing to create a pointed tail.
- Place your icing nozzle in a new piping bag and half fill it with purple icing. Pipe small dots onto each butterfly wing, gently squeezing until you get the right dot size (as described in Key Skills Dotting). Leave to dry, then repeat the steps to create green and purple butterfly cookies.